After an ambitious session last time with Stone Soup, we wanted to do a slightly simpler one. We’re hoping to alternate between simple recipes and more difficult ones as well as rotating between foods that many kids might know and love and ones that may be new to them. So this session definitely fell into the familiar and easy recipes. For this session, we made Sugar Cookies and icing to go on top!
Description: Read about your food and eat it, too! We’ll read a book, sing some songs, and make a delicious new recipe each month! Ages 3-6.
Details: This is a 1.5hr program for kids 3-6 years old with their caregiver. We set out to have two main portions of the program. 1) the cooking/instructions/hands-on component. 2) a short storytime to reinforce the foods and concepts we did during cooking, which also allows us to finish up cooking or baking as they’re getting wiggles out during the storytime.
Budget: The budget for each session is up to $100, a bit higher than I’d do for one session, but the cost of food was the main portion. We usually only end up spending about $60.
With some of the basics and goals out of the way, here’s what we did for this session:
Welcome & Safety: We started our program as we always do with our kitchen programs. We talk about how the kitchen has some tools in it that need a healthy dose of respect and we all need to use safe bodies while in the kitchen. We reiterate that our grownups are expected to be actively engaged and help their child wherever they can. Another small part of safety is making sure we’re washing our hands before handling the food.
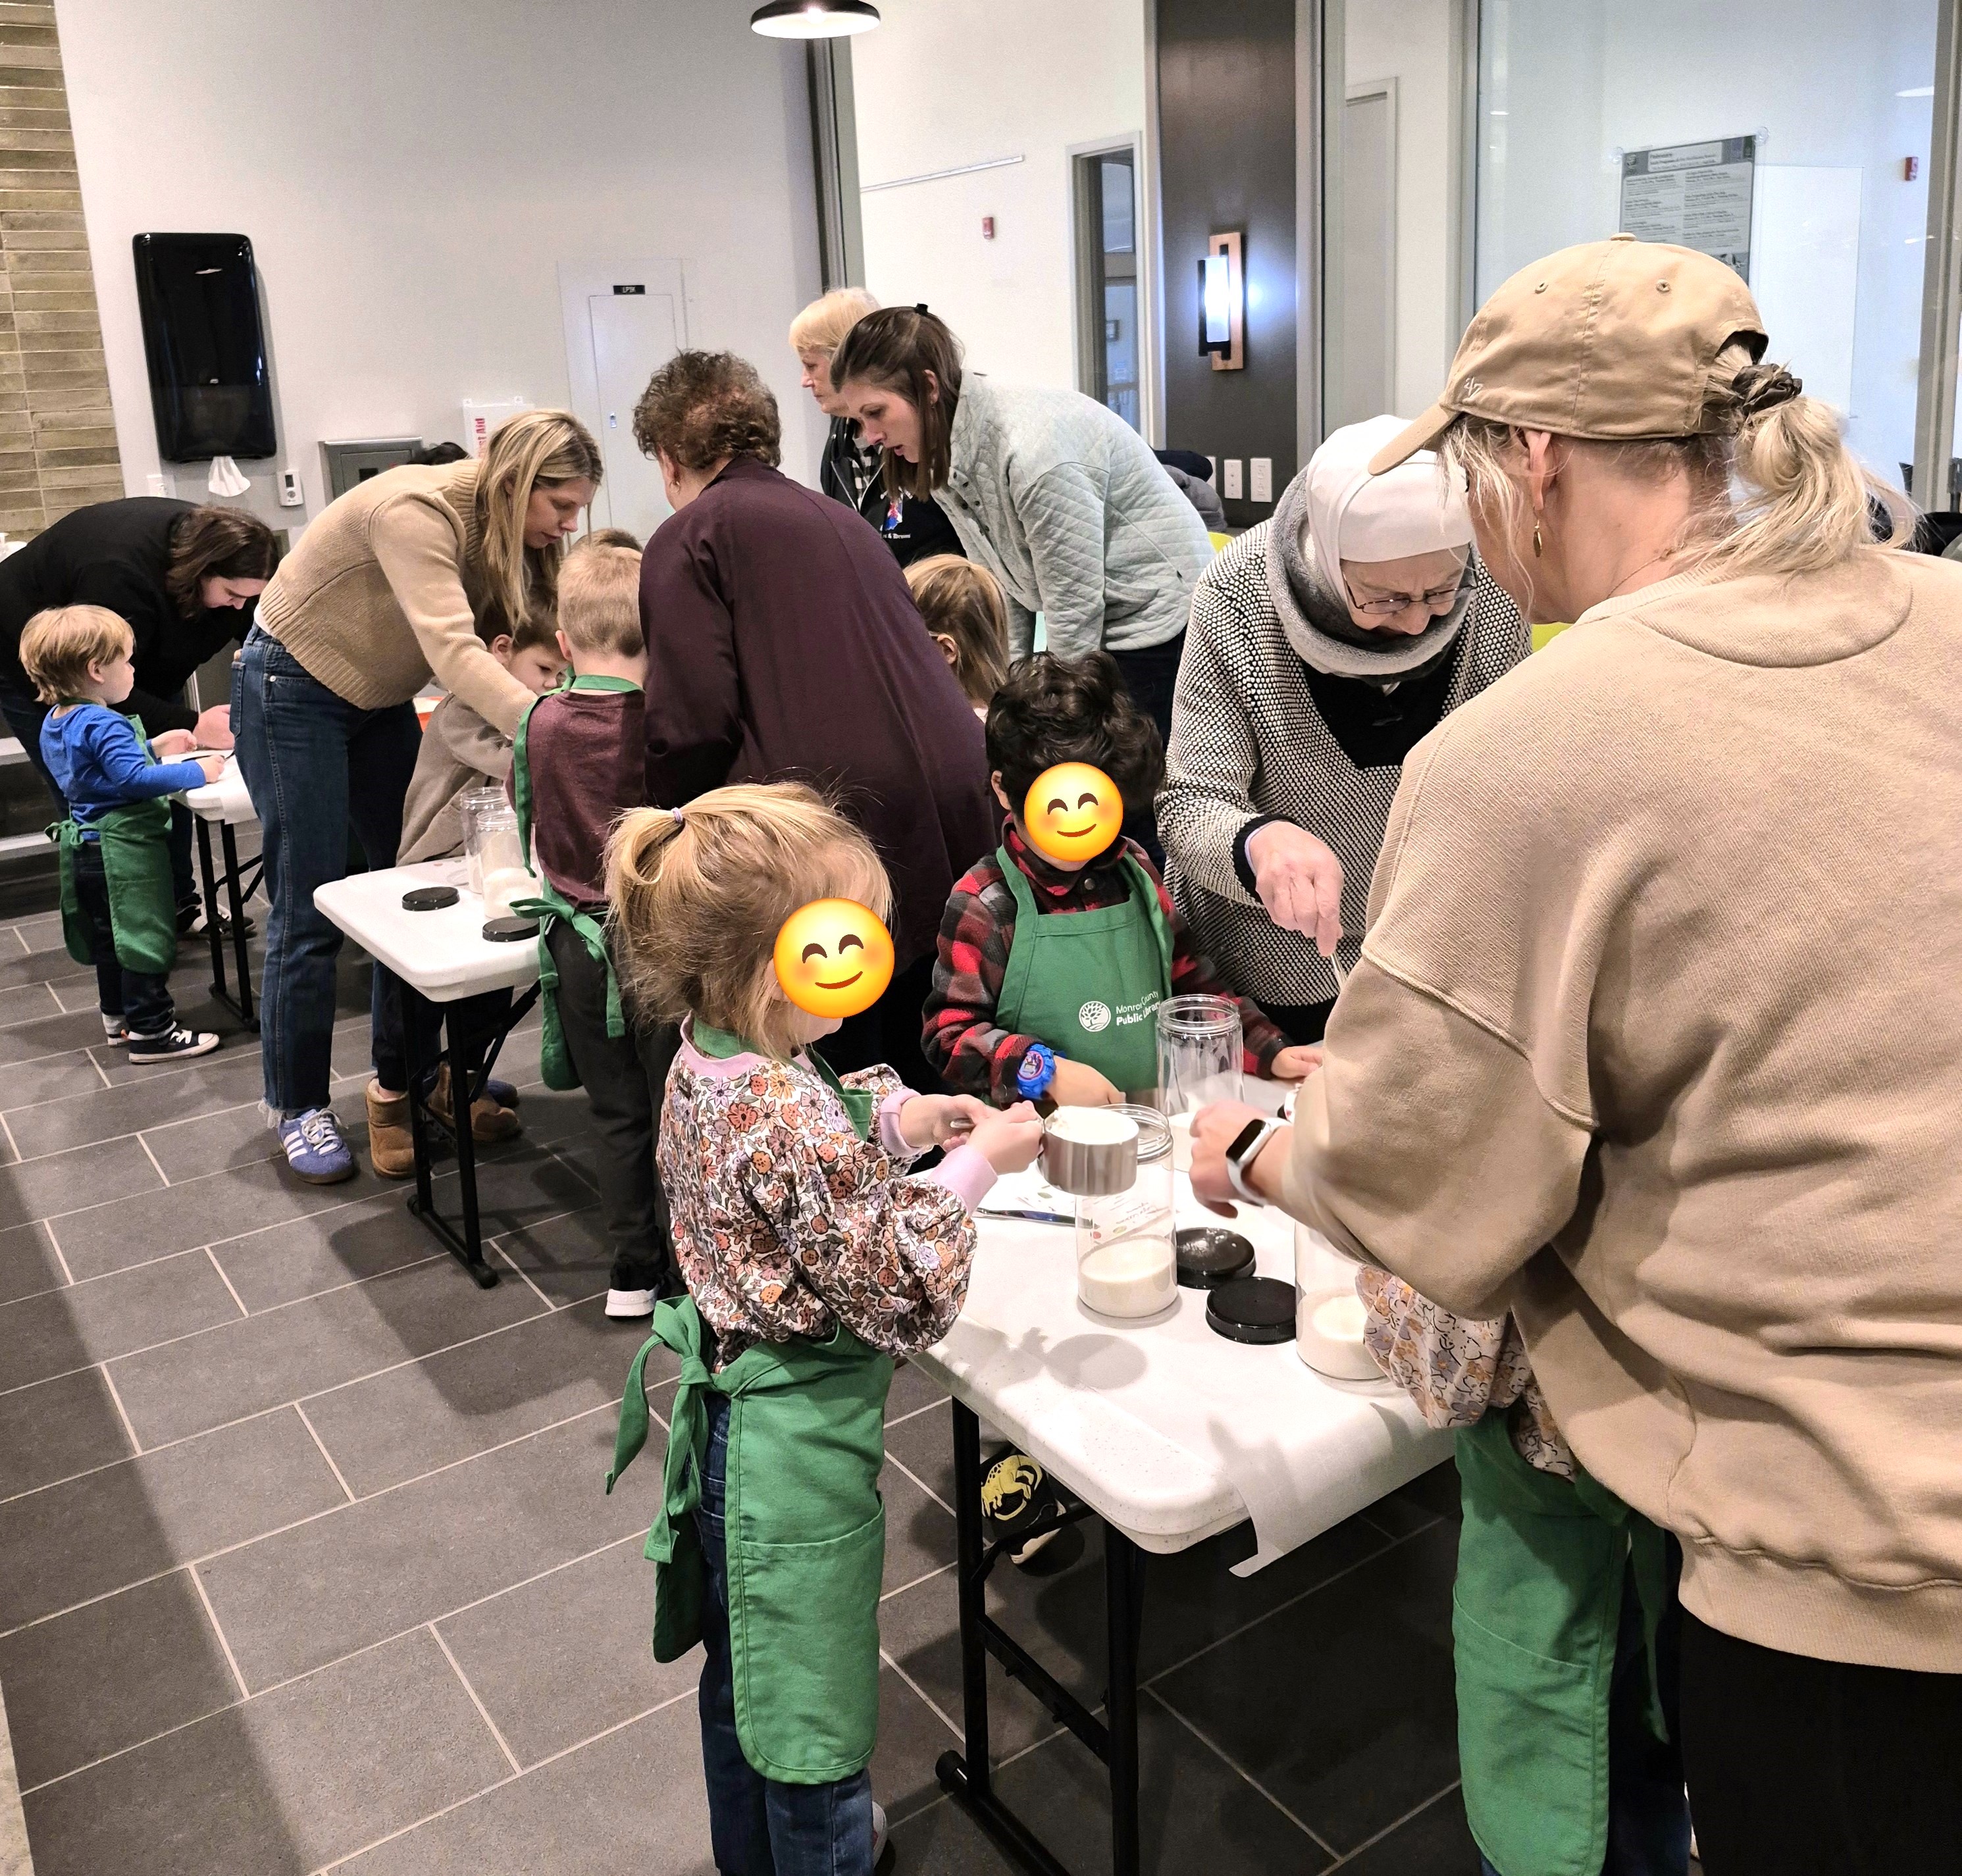
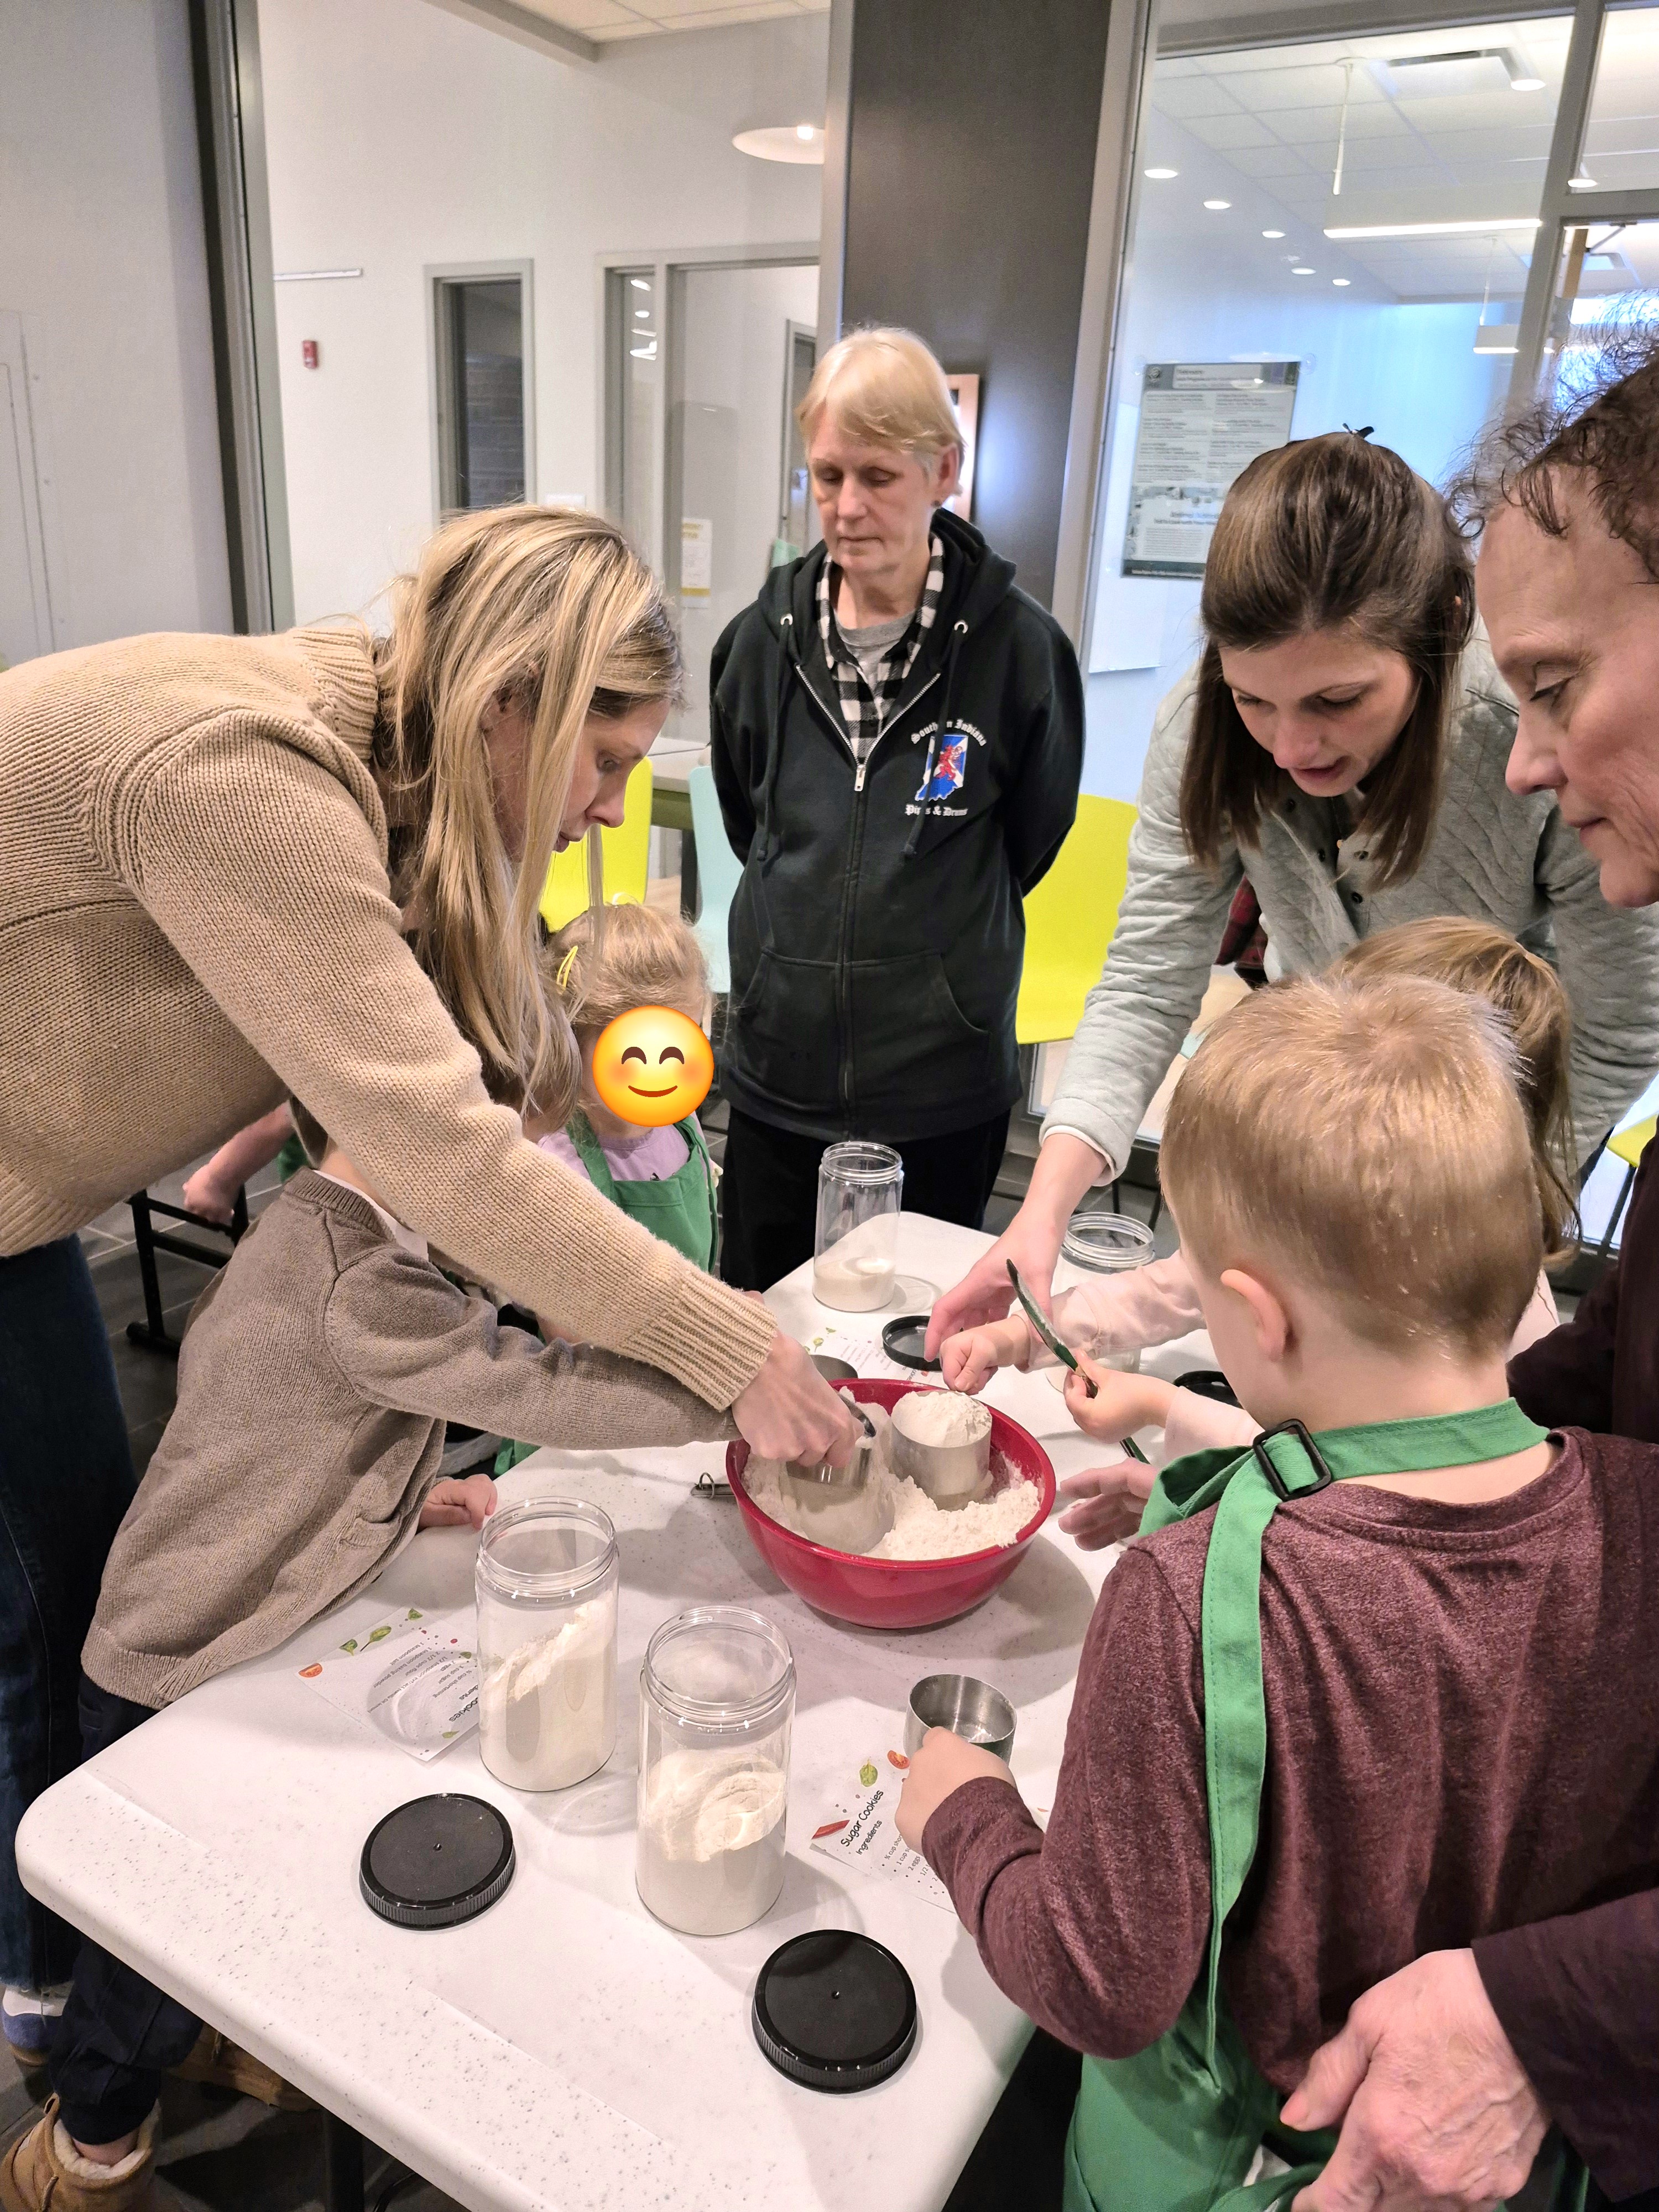
Setting it up: Once we had our hands washed, we were ready to jump in! Now, most sugar cookie recipes calls for chilled dough. So we had to figure out how to do that within our timeframe and also not lose the attention of the preschoolers. We decided to make the dough ahead of time, but to have the kids measure dry ingredients into personal jars so that they could take those home, mix in the wet ingredients, and make another batch at home at a later time. This way, they still got some of the benefit of measuring and making things without needing to have an hour of dough chilling during the program.

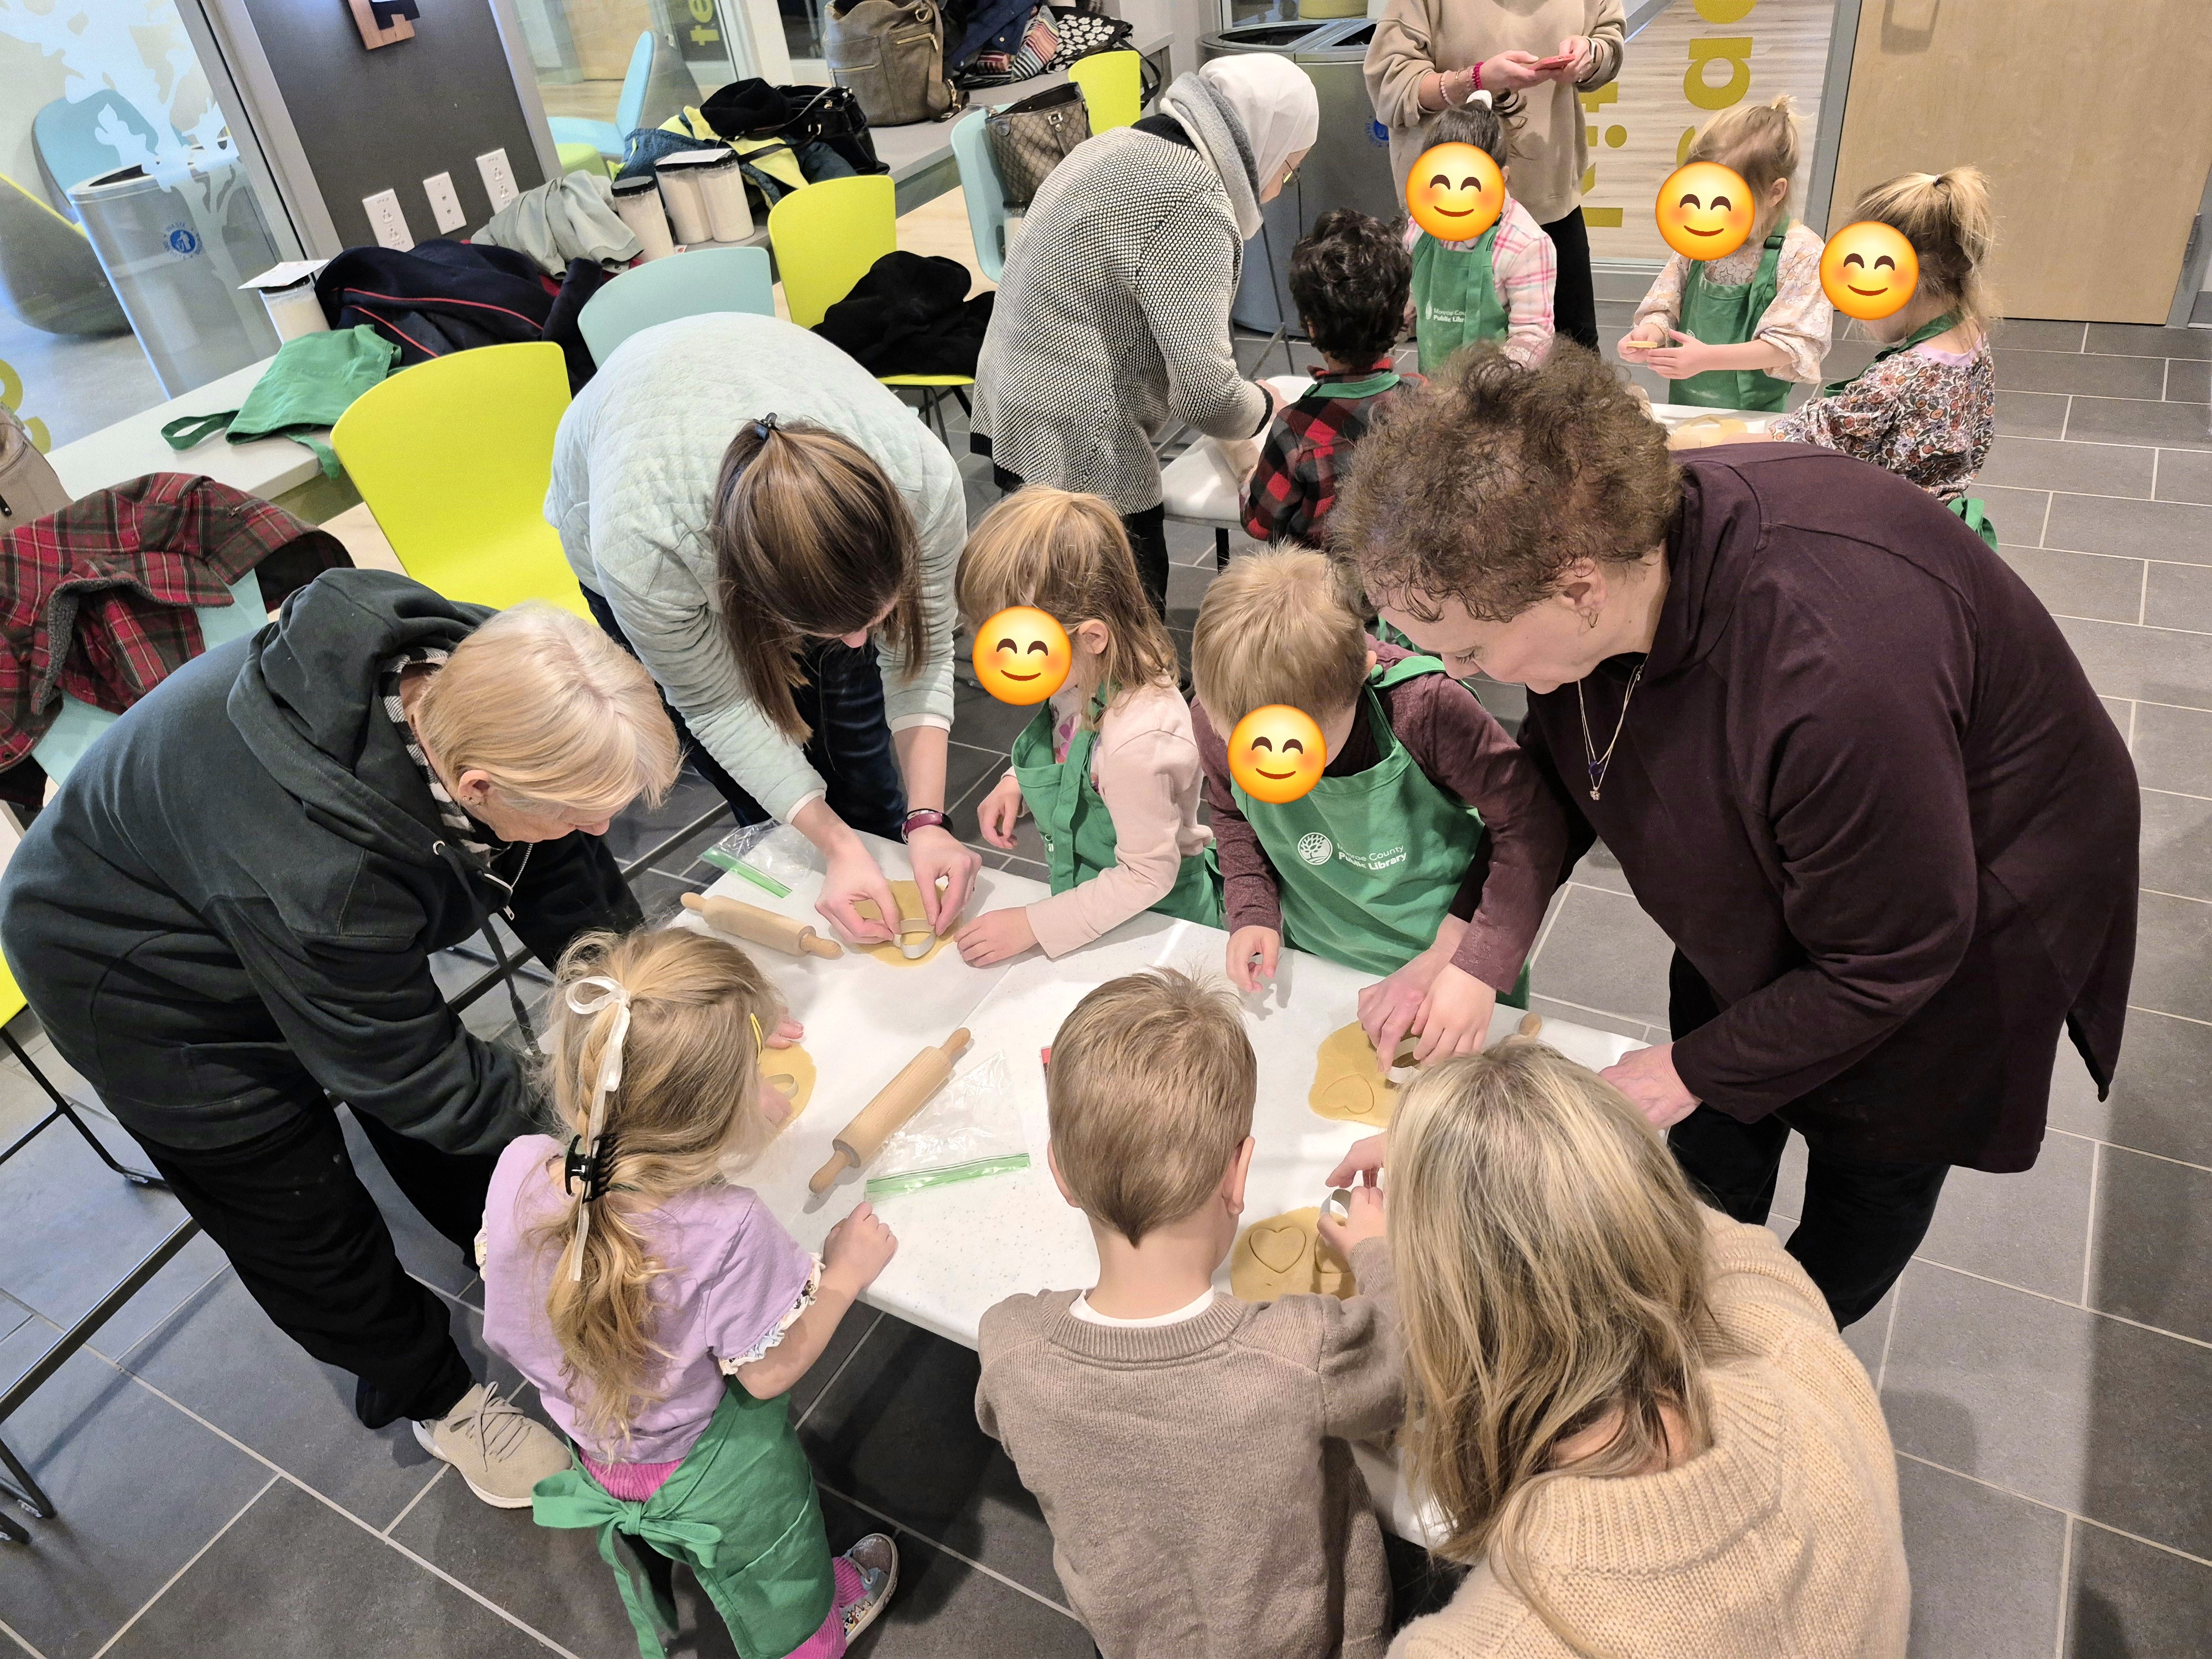
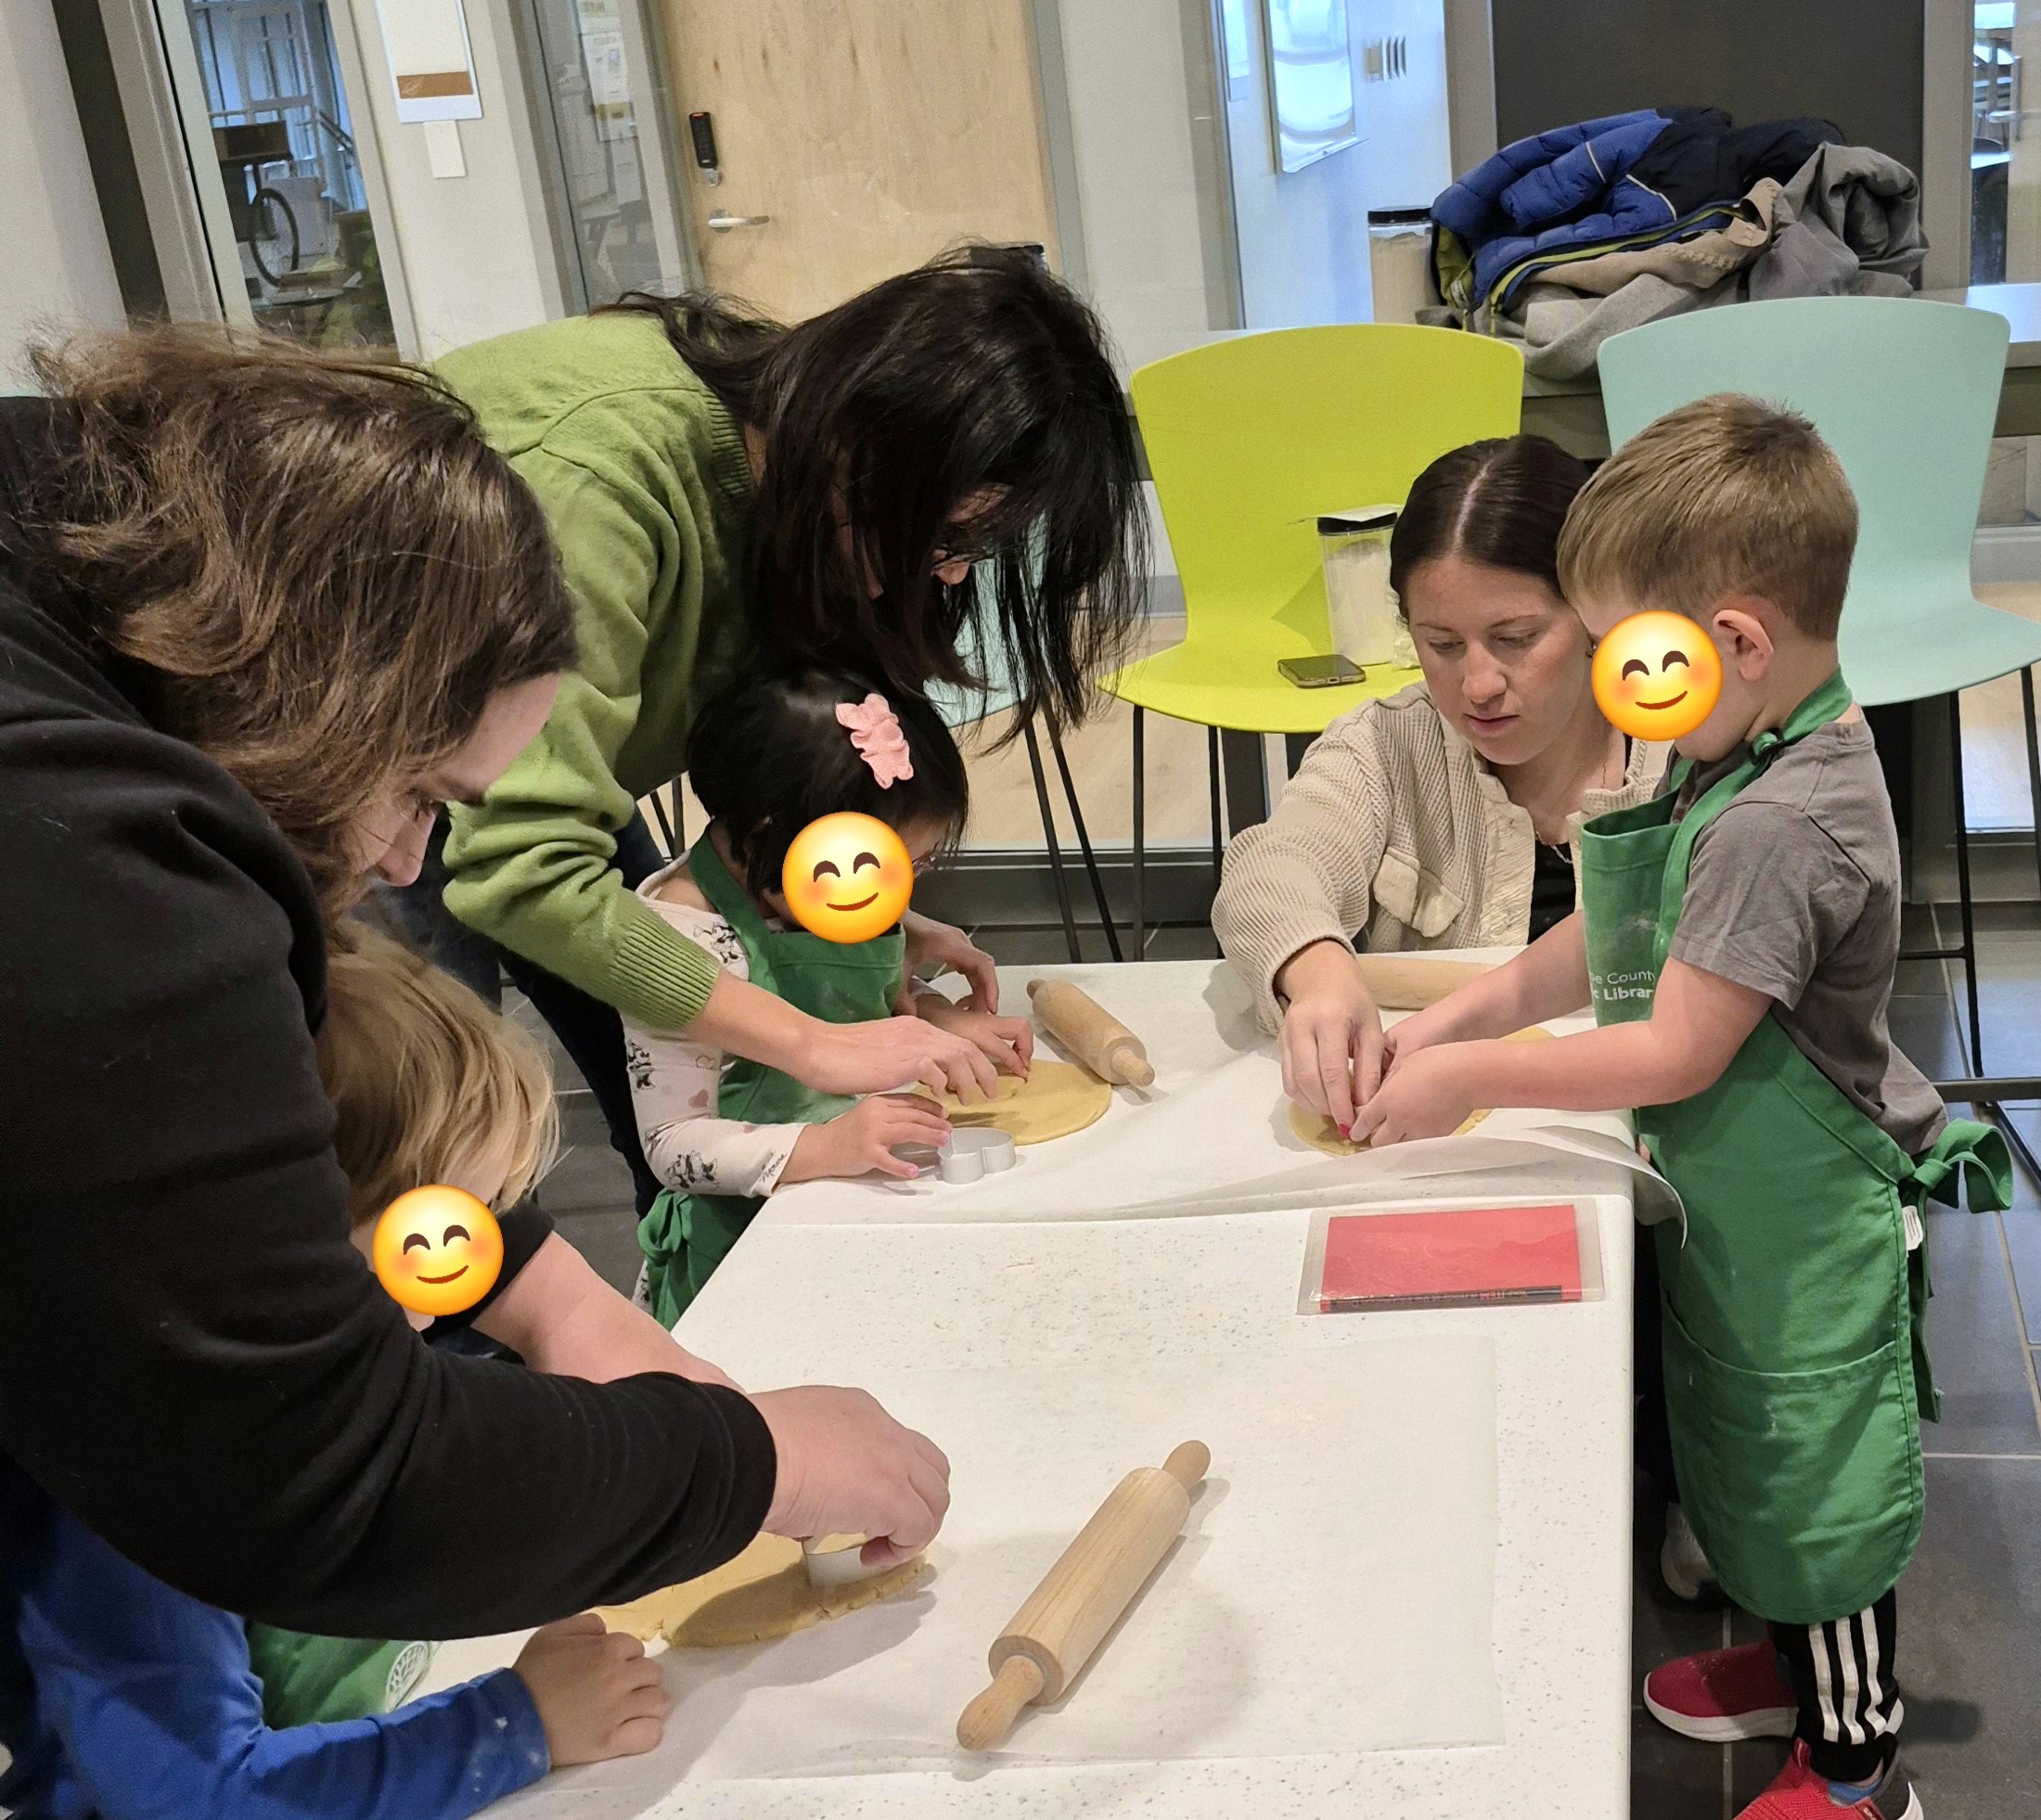
Instructions: So after each preschooler made their Cookies in a Jar, we got out the chilled dough and taught them how to roll out the dough and use cookie cutters to make shapes. As they cut out the shapes, C and I went around with cookie trays for them to place them on.
Storytime: This is where we took a break for the kids to go to a storytime about cookies! Before I took them to the other room, C explained what she was going to do while they were away at storytime.
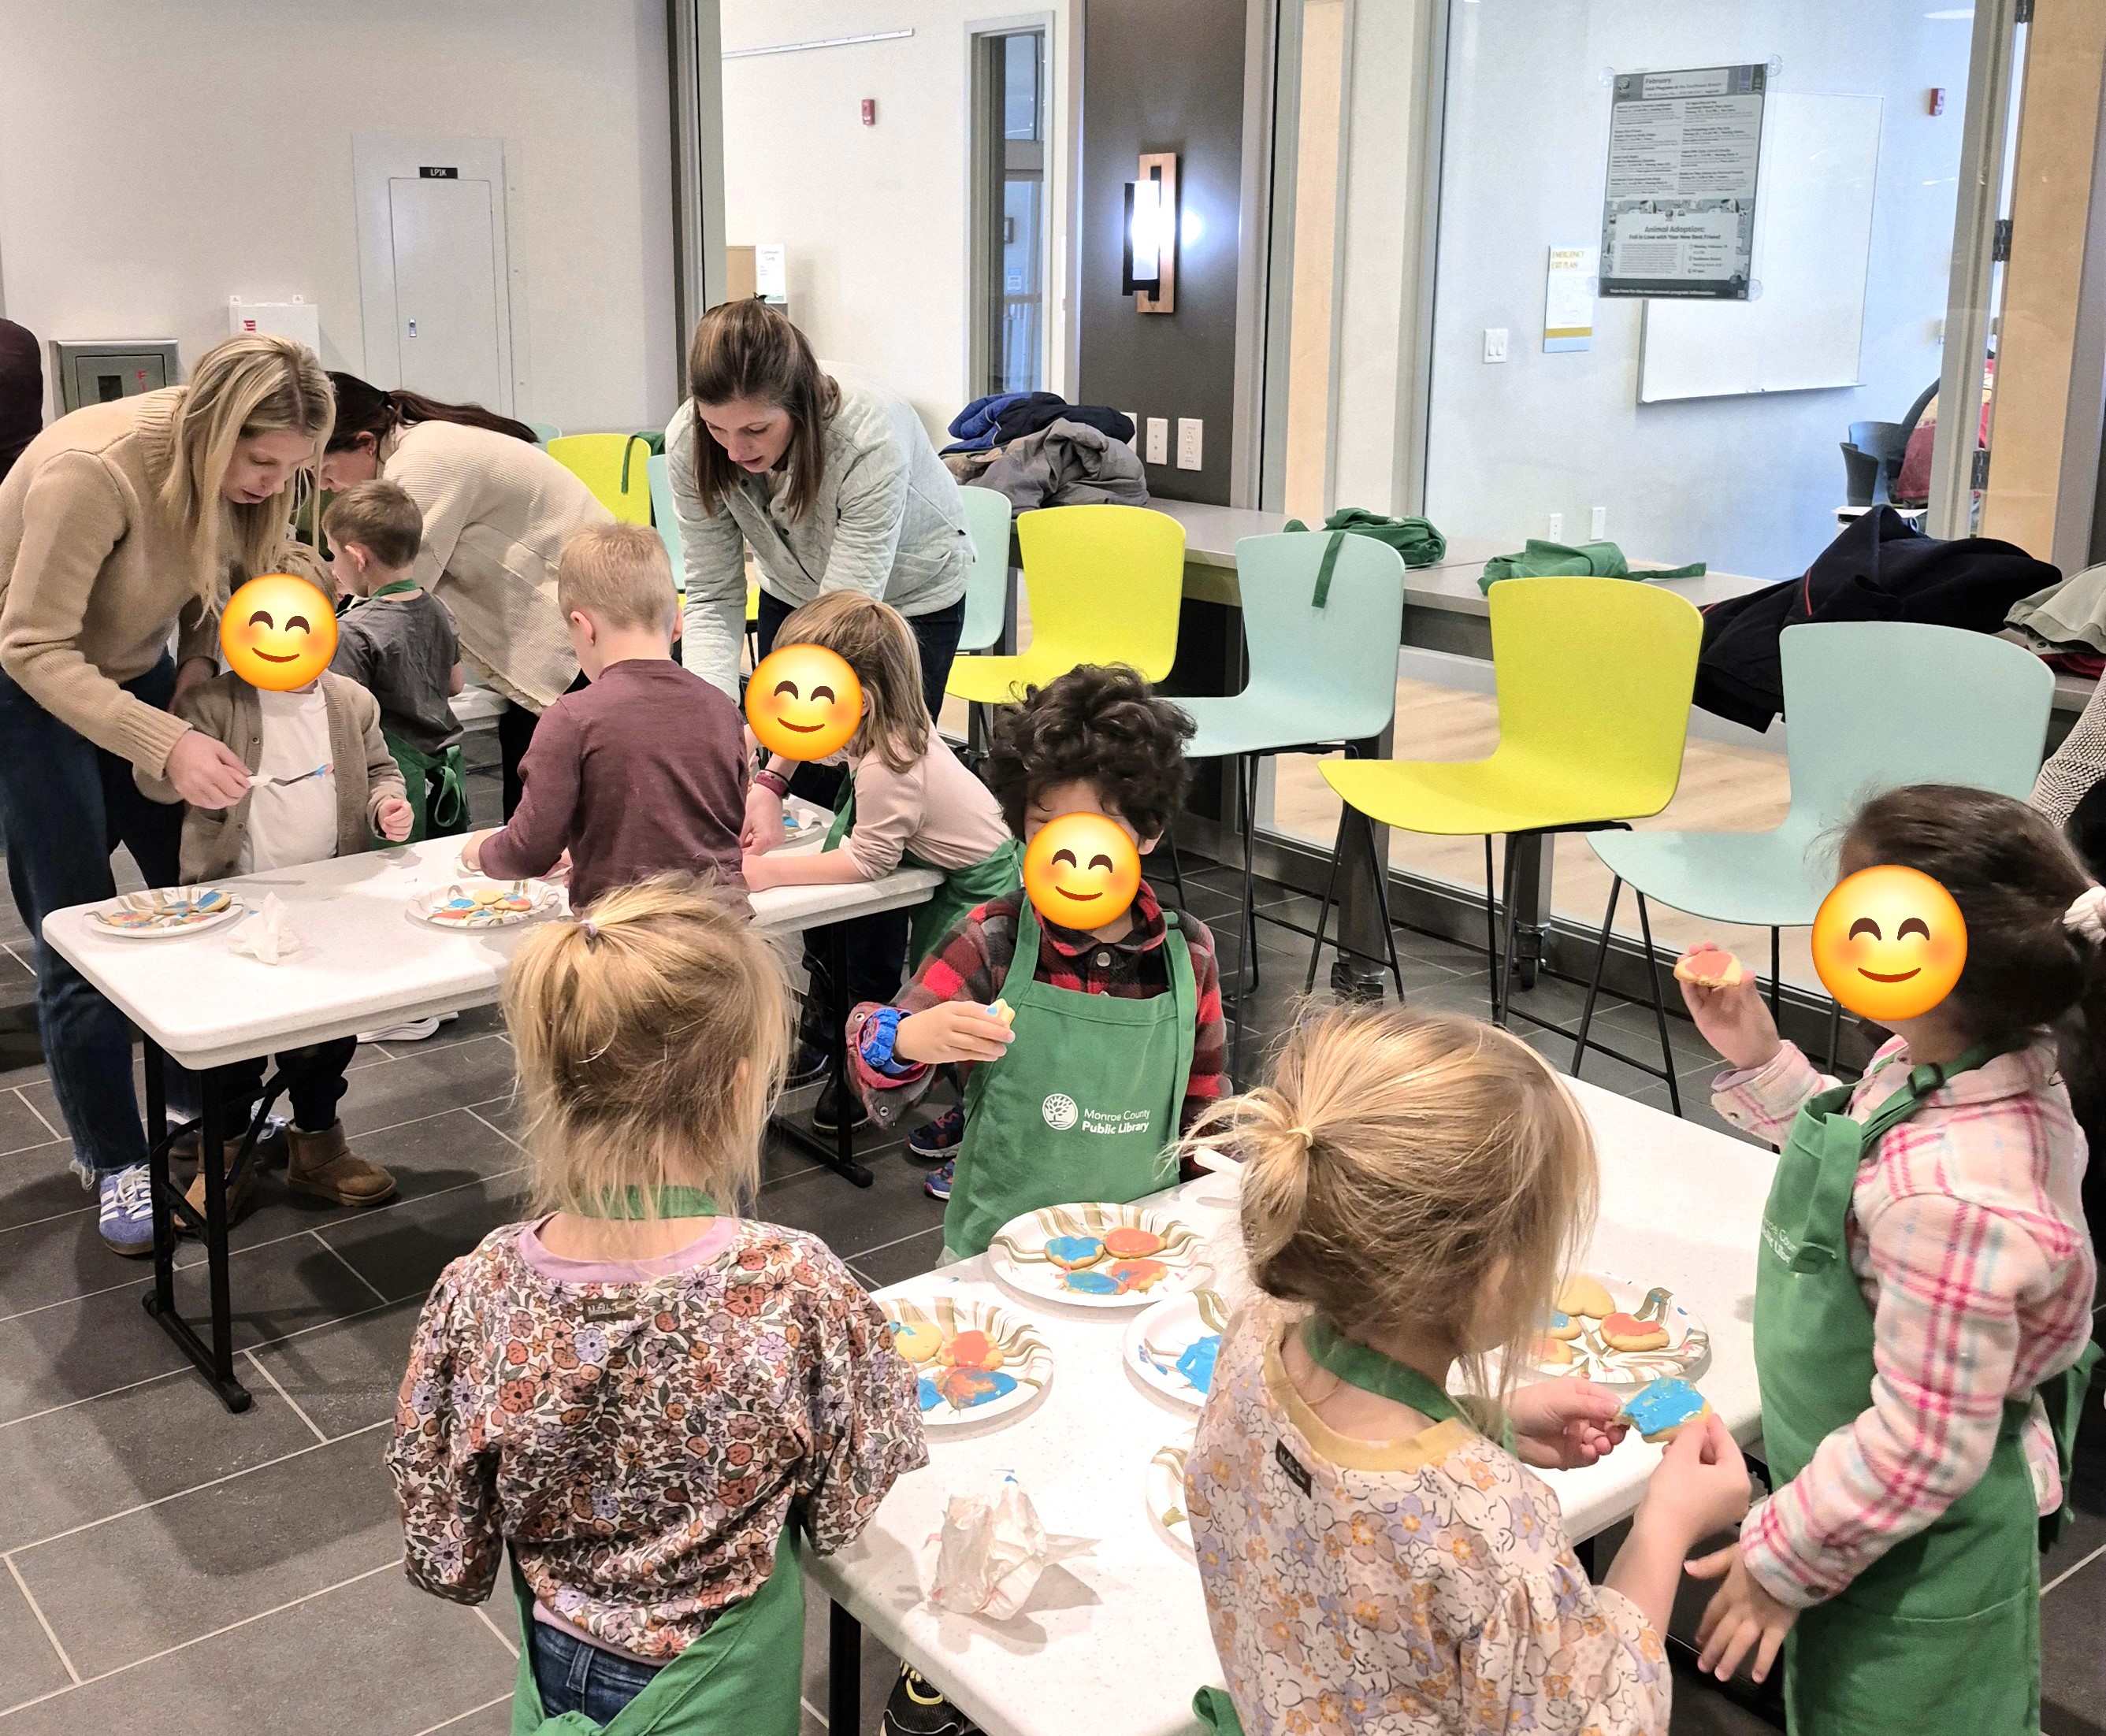
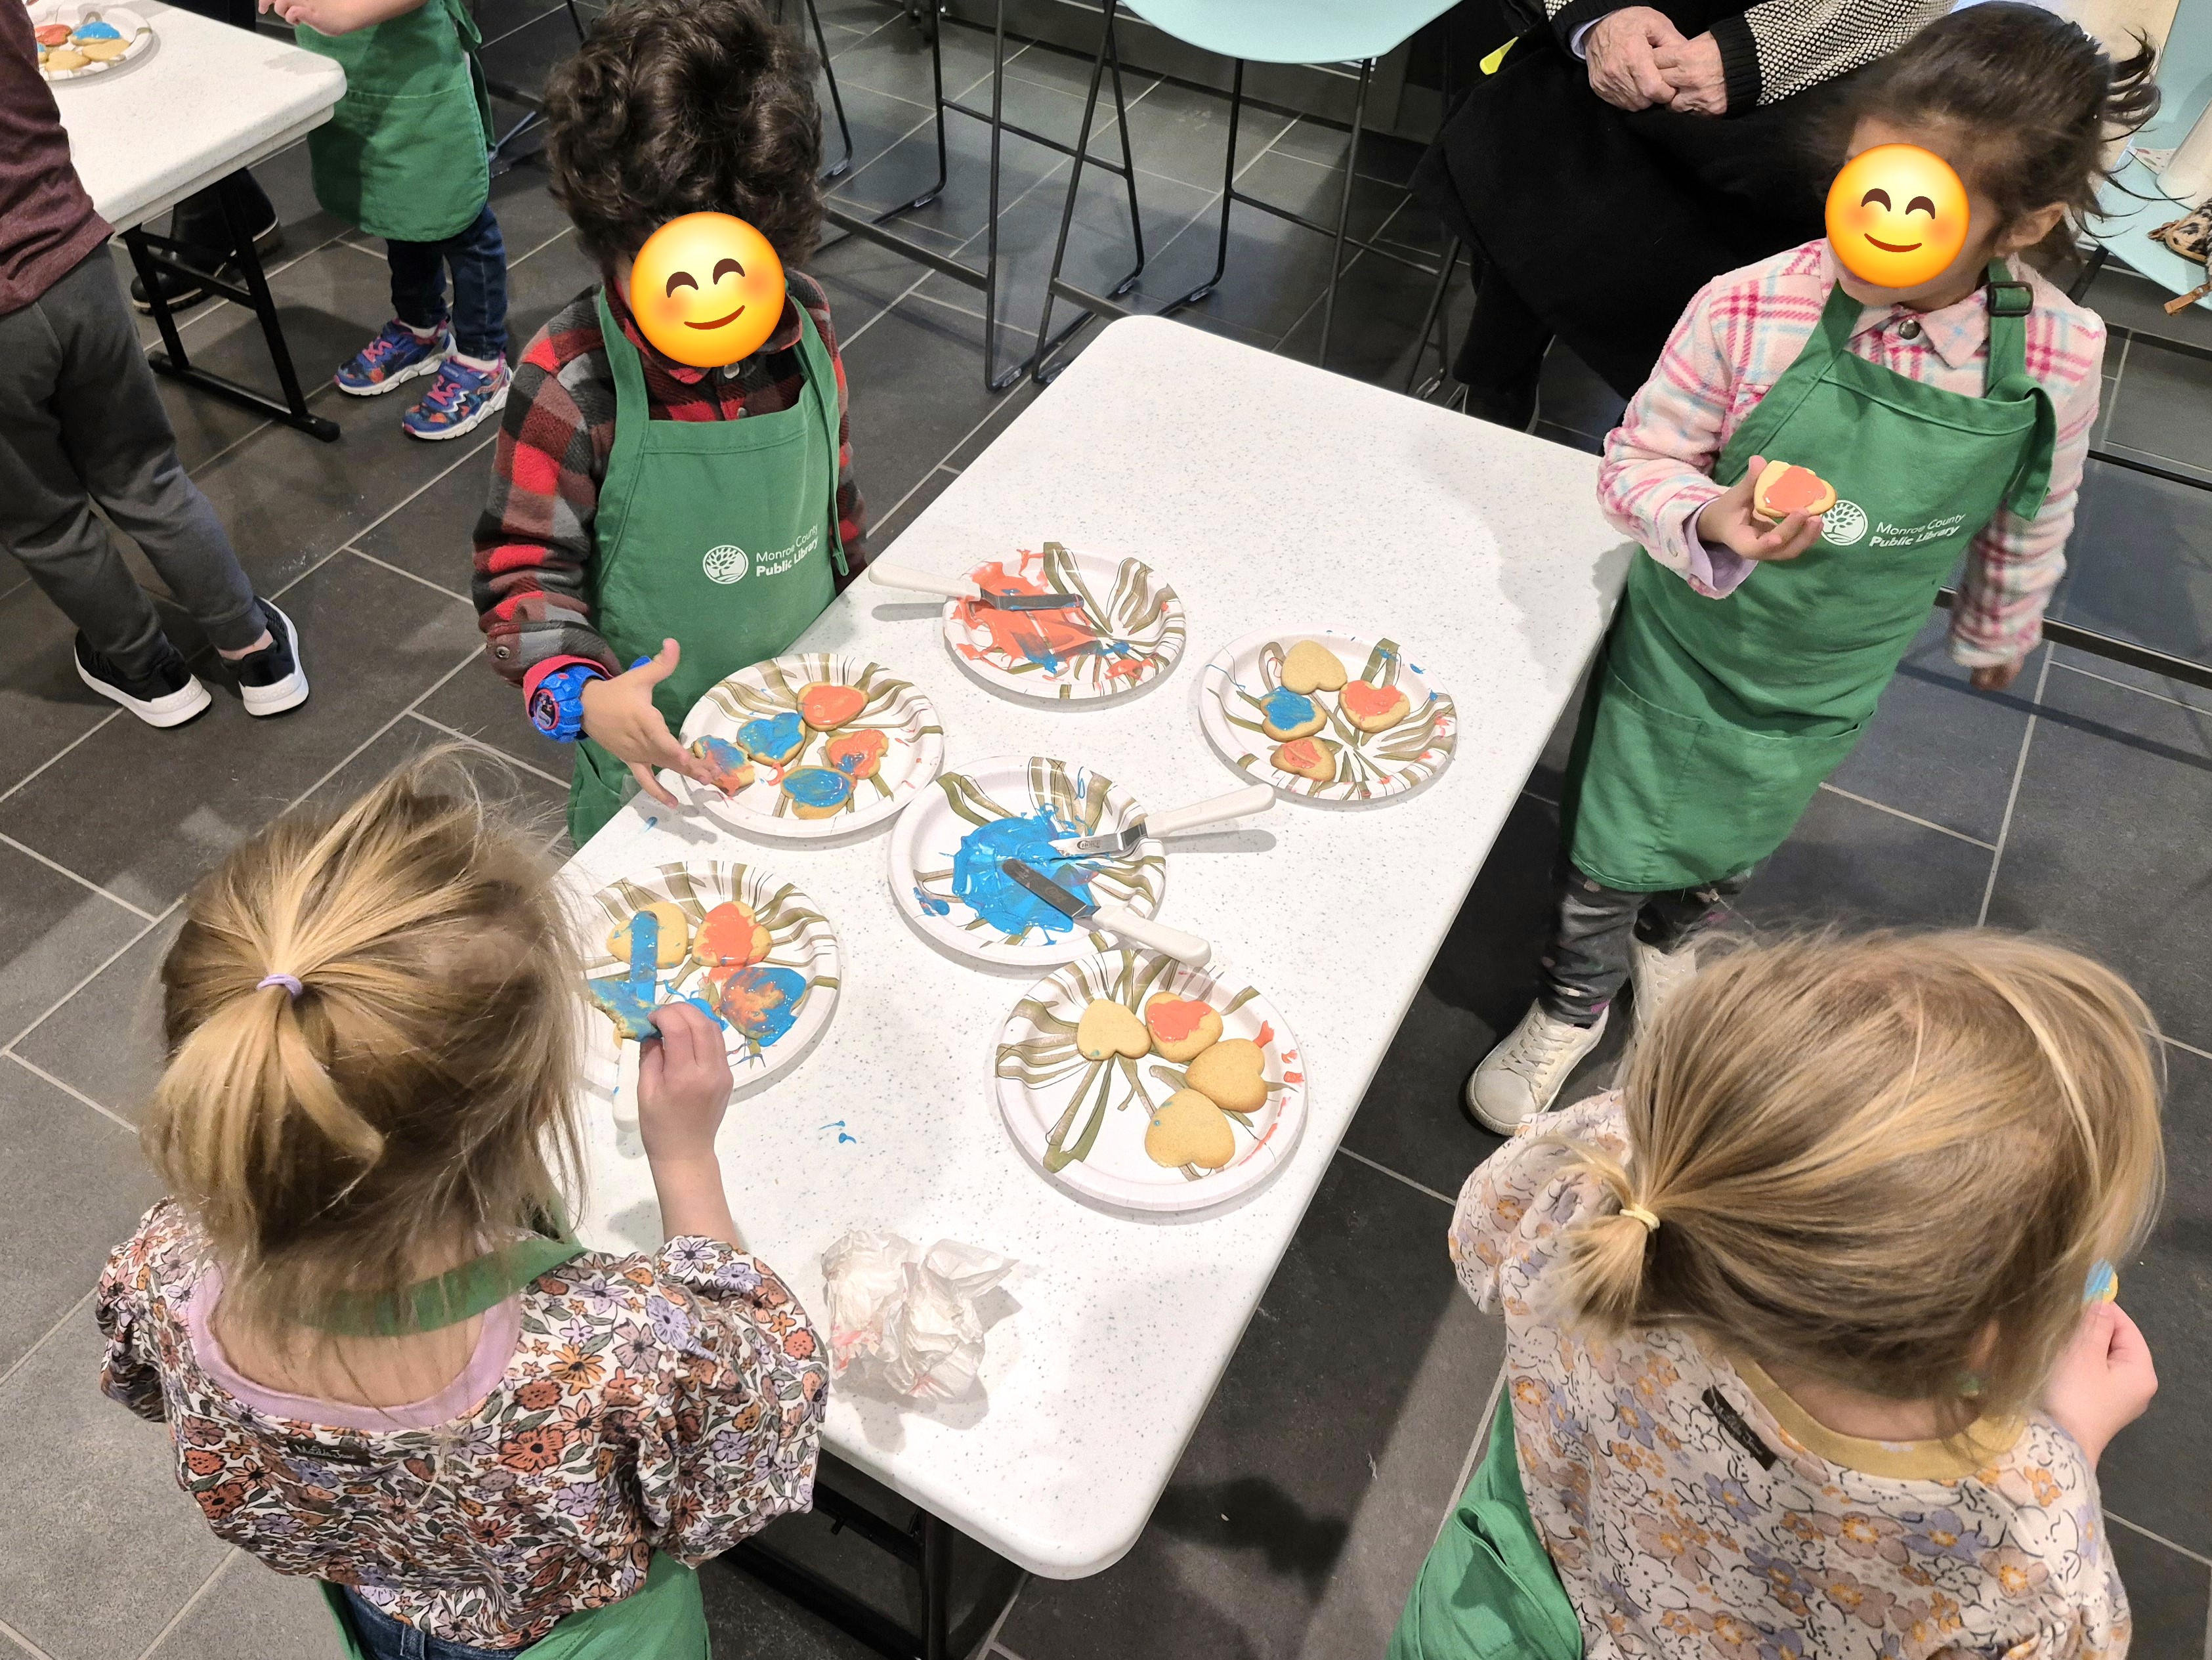
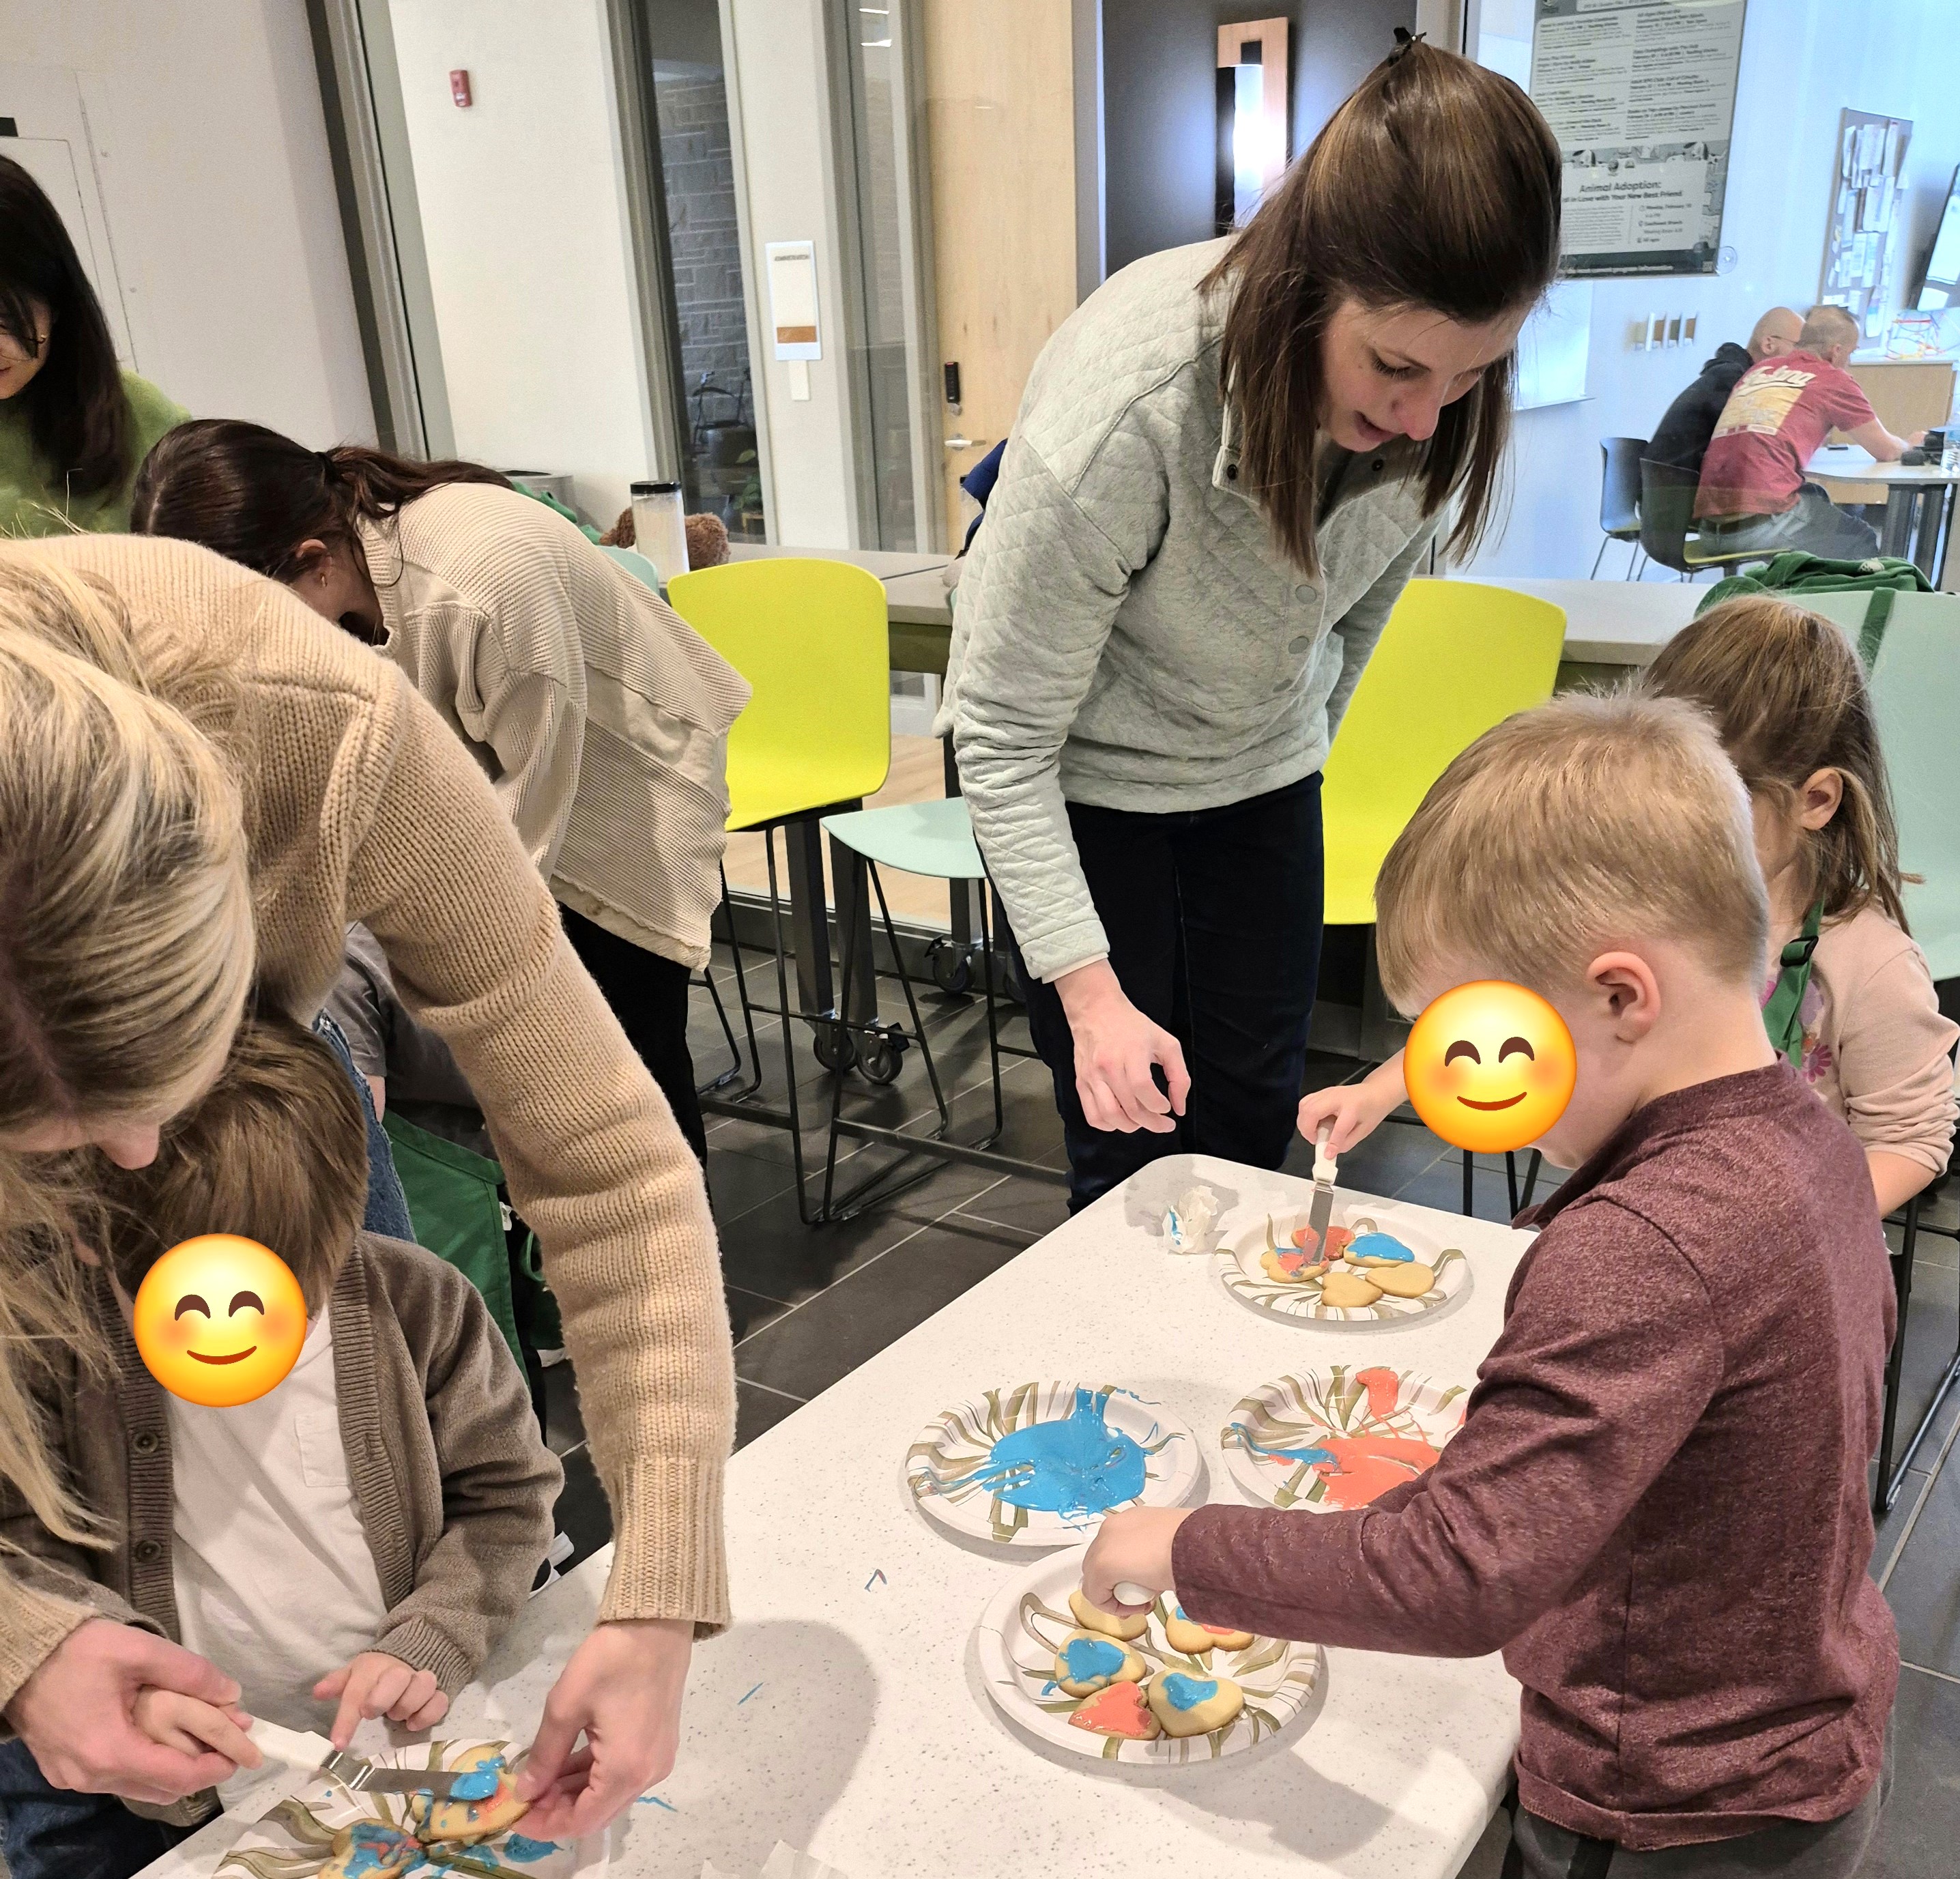
Finishing Up: When the kids came back in, the cookies were all baked and still quite warm. We explained that if we were going to make icing together while the cookies cooled down. We then helped the kids take turns adding ingredients to a mixer to make some easy icing which they could spread on their cookies. We asked them what they thought would happen in icing went onto a hot cookie and got some very cute answers along with the correct one – the icing wouldn’t stick! So we made sure our cookies were nice and cool and then spread the icing on before taking a taste! This was a big hit with the kids! I had one of the attending families come back in a couple weeks after the program saying they had just made their Cookie in a Jar set earlier that week and that they were just as delicious as the ones we made in the program!
Here’s the recipe we used and gave to all the participants:
